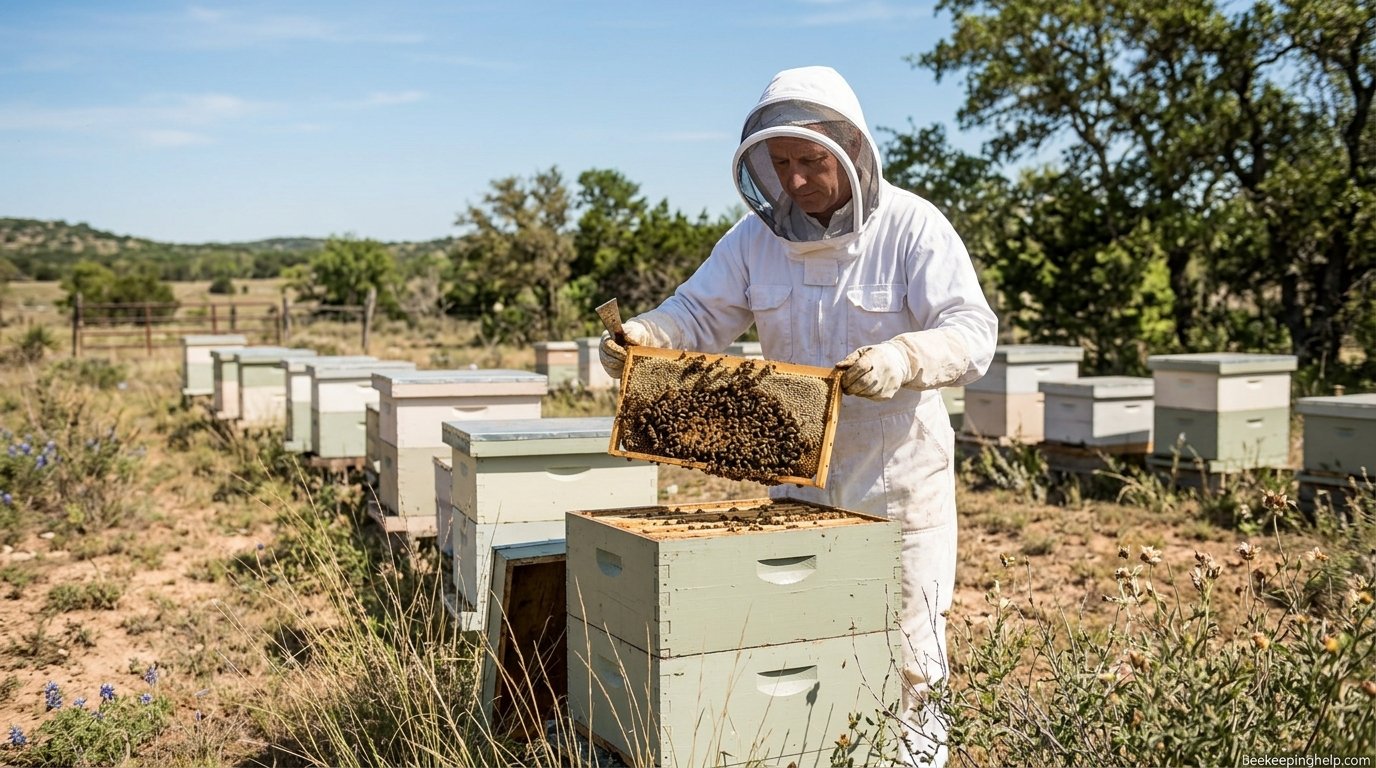
How to Start Beekeeping in Texas: A Complete Step-by-Step Guide
Everything a beginner needs to know before installing that first hive
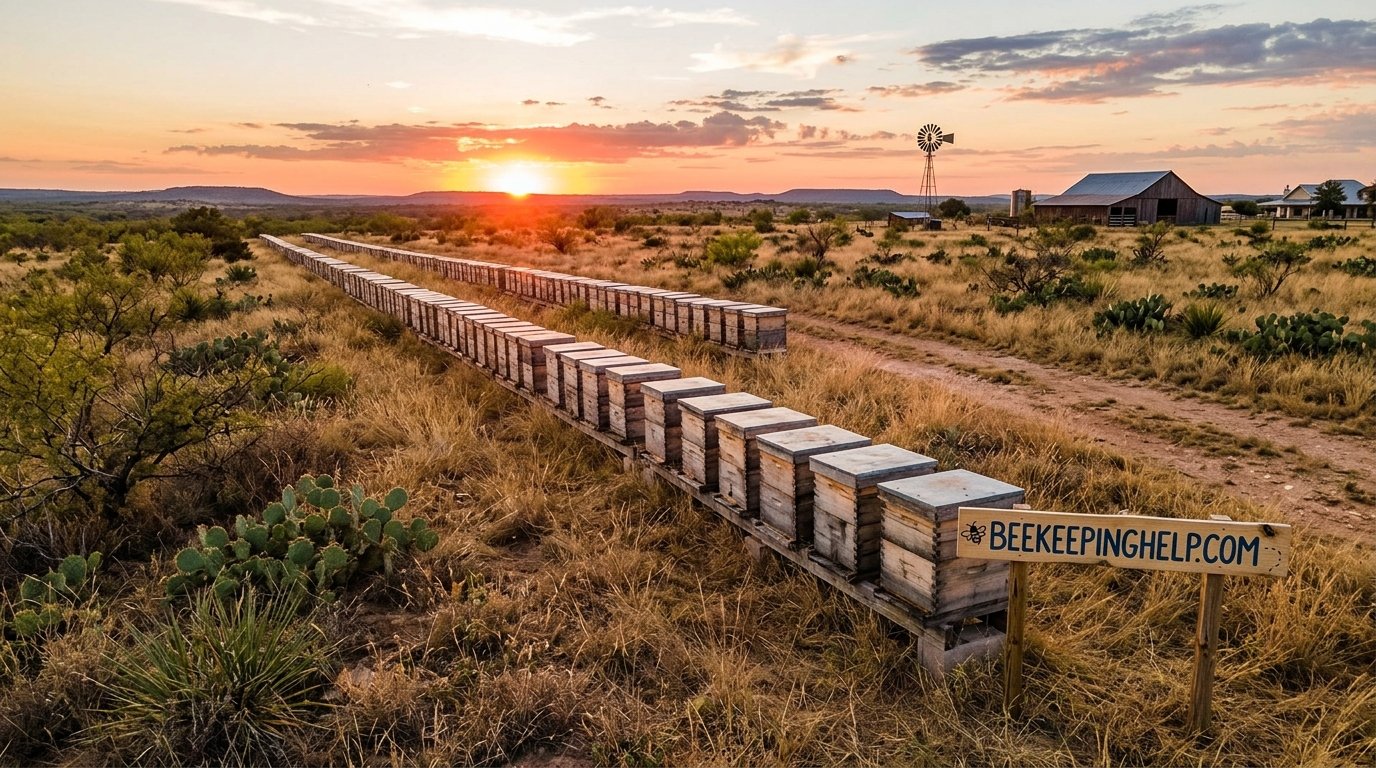
Texas is, in a lot of ways, one of the friendliest places in the country to keep bees. The growing season runs long, the wildflower bloom is generous most years, and the state has almost none of the licensing red tape that trips up new beekeepers elsewhere. That doesn’t mean it’s effortless, though. Between triple-digit summers, unpredictable dearths, and a healthy population of Africanized honey bees in the southern half of the state, Texas beekeeping has its own personality — and it rewards people who prepare before the bees ever arrive.
This guide walks through the entire process from a completely blank slate: what the law actually requires, which hive style makes sense for your climate zone, what gear is worth buying versus skipping, how to source your first bees, and how to keep them alive through your first Texas summer. If you’ve been reading about beekeeping in general and want the Texas-specific version, this is it.
1. Is Texas a Good State for Beekeeping?
Short answer: yes, with caveats. Texas has one of the longest active foraging seasons in the U.S. — in the southern and coastal regions, bees can fly nearly year-round, while the Panhandle sees a more traditional spring-to-fall season. That length of season is a genuine advantage over states where colonies are dormant for five or six months. More flying days mean more opportunities to build comb, raise brood, and store surplus honey.
The trade-off is heat and drought. Summer dearth — the period when almost nothing is blooming and colonies burn through stores just to survive — is a defining feature of Texas beekeeping, especially in Central and West Texas. New beekeepers who only picture spring wildflowers are often caught off guard by how brutal late July and August can be on a colony. Wondering just how hard it is to start beekeeping in general is a fair question, and in Texas the honest answer is that the learning curve is more about heat management than about the bees themselves.
If you’re only now deciding whether this hobby is for you, it helps to read a broader overview of how to start beekeeping before committing to the Texas-specific logistics below. The fundamentals of colony biology don’t change by state; what changes is timing, hive choice, and heat management.
2. Texas Beekeeping Laws and Registration
One of the most beginner-friendly things about Texas is the legal side. There is no state license required to keep bees for personal or hobbyist purposes. Texas does, however, strongly encourage — and in some counties effectively requires for tax purposes — registration of your apiary with the Texas Apiary Inspection Service (TAIS), which is administered through Texas A&M AgriLife. Registration is free, takes a few minutes online, and puts you on record in case of disease outbreaks like American foulbrood, which the state does actively monitor.
A separate consideration is agricultural valuation. Many rural Texas landowners keep bees specifically to qualify for a wildlife or agricultural property tax exemption, which requires a minimum acreage (typically 5–20 acres depending on county) and a minimum number of hives. If tax valuation is part of your motivation, talk to your county appraisal district before you buy a single hive box, because the requirements vary by county and change periodically.
City and HOA rules are the wildcard. Some municipalities restrict hive placement distance from property lines, cap the number of colonies per lot, or ban beekeeping in residential zones outright. Always check your specific city ordinance and any HOA covenant — state-level permissiveness does not override local restrictions.
3. Choosing the Right Hive Type for Texas Conditions
Hive choice is the first genuinely consequential decision a new Texas beekeeper makes, because it affects everything downstream — cost, inspection style, honey yield, and how well the colony handles heat. The three realistic options for a beginner are the Langstroth, the Flow Hive, and the top-bar hive, and each behaves differently once summer temperatures climb past 100°F.
If you’re unfamiliar with hive anatomy in general, it’s worth reading up on the parts of a bee hive and their functions and how a colony actually organizes itself inside one before comparing styles — it makes the trade-offs below much easier to follow, and it explains how a beehive works as a thermoregulated, self-organizing structure rather than just a wooden box.
| Hive Type | Best For | Heat Tolerance | Beginner Difficulty | Approx. Cost |
|---|---|---|---|---|
| Langstroth | Honey production, standard equipment compatibility | Good with ventilation upgrades | Moderate | $180–$350 |
| Flow Hive | Low-disturbance harvesting | Good | Easy harvest, moderate management | $600–$900 |
| Top-Bar Hive | Natural comb, low startup cost | Fair — needs shade | Moderate–Hard | $120–$250 |
Comparing the two most common choices directly, our full Flow Hive vs. Langstroth breakdown goes deeper into cost-per-harvest and long-term maintenance than we have room for here, but the short version for Texas is this: Langstroth hives are cheaper to start and use universally available replacement parts, while Flow Hives reduce how often you need to fully open the hive during triple-digit heat, which matters more here than in milder climates.
Langstroth Pros
- Cheapest entry point
- Universal parts and used-equipment market
- Best documented management style
Langstroth Cons
- Heavy boxes when full of honey
- Full inspections mean full sun exposure
If you’d rather build your own equipment than buy pre-assembled boxes, we cover the full process in how to make a beehive, including the joinery and wood-treatment choices that matter for Texas humidity swings. It also helps to understand how beehives are made commercially, since it explains why certain wood types and finishes are used and which shortcuts are safe to take at home. If your hive will sit somewhere visible from the road or a neighbor’s yard, our guide on how to paint a beehive covers which paint colors and finishes reflect Texas heat rather than absorbing it — light colors are not just cosmetic here, they measurably reduce internal hive temperature.
Beyond the three mainstream options, some rural Texas beekeepers still work with hollow-log or “gum” hives inherited from older traditions, and it’s genuinely interesting to see the range of types of beehives in trees that predate modern boxed equipment. For a visual side-by-side of every mainstream and alternative design, our beehive types with pictures guide is a useful reference before you order anything. And if you want our direct recommendation rather than a comparison, we maintain an updated list of the best beekeeping hives for first-time buyers.
4. Essential Gear You’ll Actually Need
It’s easy to overspend on beekeeping gear before you’ve even seen a live colony. In reality, a beginner needs a fairly short list: a hive with frames and foundation, a smoker, a hive tool, protective clothing, and a feeder. Everything else is optional until you know your own management style.
The smoker is the single most misunderstood tool in the kit. New beekeepers either avoid it entirely or use it far too aggressively. Understanding how a bee smoker works — it masks alarm pheromone and triggers a feeding response rather than “calming” bees chemically — changes how you use it in practice. Fuel choice also matters more than people expect; our guide to what to use in a bee smoker covers which fuels burn cool and long versus which produce harsh, hot smoke that agitates rather than settles a colony. If you haven’t picked a smoker yet, start with our current best bee smoker picks rather than grabbing the cheapest option at a farm store — a smoker that won’t stay lit is worse than useless mid-inspection.
Protective clothing is a genuinely personal decision, and it matters more in Texas than in cooler states simply because you’ll be wearing it in extreme heat. Before buying, read a few honest bee suit reviews rather than trusting marketing photos — ventilated suits are worth the extra cost here. If you also spend time outdoors near wasps, it’s worth knowing whether bee suits protect from wasps the same way they protect from honey bee stings, since the sting mechanics and suit requirements differ slightly. Whatever suit you land on, learn how to wash a bee suit correctly early on — alarm pheromone soaks into fabric and improperly washed suits keep agitating bees on every future inspection. The same logic applies to gloves: sting residue and hand odor linger, so know how to clean beekeeping gloves between uses rather than letting them build up smell over a season.
5. Step-by-Step: Setting Up Your First Hive
With laws checked, a hive style picked, and basic gear on hand, actual setup is a mechanical process. Here’s the order that causes the fewest problems for first-timers, broken into six concrete steps.
Step 1: Level and Prepare the Hive Stand Location
Before any boxes go together, the physical spot matters. The stand needs to sit dead level (a tilted hive causes comb to be built off-true, which makes every future inspection harder) and elevated 12–18 inches off the ground to deter ants, discourage skunks, and improve airflow underneath.
Step 2: Assemble the Boxes and Frames
Assemble your deep boxes and frames according to the manufacturer’s instructions, using wood glue in addition to nails or staples — Texas heat cycles cause more wood movement than milder climates, and glued joints hold up noticeably better over a few seasons.
Step 3: Install Foundation into Each Frame
Wire or crimp the wax or plastic foundation sheet into each frame so bees have a straight guide to draw comb from. Crooked foundation is the number one cause of cross-comb that makes future inspections destructive rather than routine.
Step 4: Stack the Boxes and Set the Entrance Reducer
Place the assembled boxes on the leveled stand, install a bottom board with the entrance facing away from prevailing wind, and fit an entrance reducer — a small colony can’t defend a full-width opening against robbing.
Step 5: Install Your Bees
Whether you’re hiving a package or a nuc, the goal is the same: get the queen cage secured between two center frames and gently shake or walk the remaining bees in, then close the hive and leave it undisturbed for several days so the colony can settle and release the queen.
Step 6: Close Up and Schedule the First Inspection
Replace the inner cover and outer lid, add a top feeder if you’re not in a strong nectar flow, and mark your calendar for a first peek in 5–7 days — just long enough to confirm the queen was released, not so long that a failed release goes unnoticed.
6. Sourcing Your First Bees
Texas beekeepers typically start a colony one of three ways: a package (loose bees plus a caged queen, sold by the pound), a nucleus colony or “nuc” (a small already-established mini-hive on four or five frames), or a captured swarm. For a first-timer, a nuc is almost always the better starting point — the colony already has drawn comb, a laying queen, and brood in progress, which gives it a real head start before summer dearth arrives.
If the term is new to you, our explainer on what a nuc is in beekeeping covers exactly what you’re paying for and why it typically costs more per bee than a package, but delivers a stronger colony faster. When you’re ready to actually purchase, our guide on how to buy bees for beekeeping walks through vetting a local seller, checking for disease-free certification, and timing your order early enough in the year — good Texas nuc suppliers routinely sell out by late winter.
7. Choosing an Apiary Site
Site selection in Texas is less about finding flowers and more about managing sun and wind. Morning sun with afternoon shade is close to ideal — it lets the colony warm up and get flying early, then avoids the hottest hours baking directly on the boxes. Where deep shade isn’t available naturally, a simple shade cloth or purpose-built hive roof overhang solves most of the problem.
A nearby, reliable water source is non-negotiable in a Texas summer. Bees will find your neighbor’s pool or a dog’s water bowl if you don’t give them a closer option, and that’s how neighborhood conflicts start. A shallow water source with floating cork or rocks (so bees don’t drown) placed within a few dozen feet of the hive keeps foragers close to home.
Wind matters too — face entrances away from prevailing wind, and if your property is genuinely exposed, a windbreak of shrubs or a fence panel on the windward side reduces stress on the colony considerably.
8. A Texas Beekeeping Calendar
| Season | Colony Focus | Beekeeper Tasks |
|---|---|---|
| Late Winter (Jan–Feb) | Queen begins laying again | Order nucs/packages, check stores, feed if light |
| Spring (Mar–May) | Main nectar flow, rapid buildup | Add supers, watch for swarming, install new colonies |
| Early Summer (Jun) | Flow tapers, population peaks | Harvest spring honey, add ventilation |
| Summer Dearth (Jul–Aug) | Little to no forage, heat stress | Feed syrup, add water source, monitor for robbing |
| Fall (Sep–Oct) | Secondary flow in some regions | Build winter stores, treat for mites |
| Winter (Nov–Dec) | Cluster loosely, minimal activity | Reduce entrances, final stores check |
This rhythm shifts by two to three weeks depending on whether you’re in the Panhandle, the Hill Country, or the Gulf Coast, so treat this as a starting template rather than a fixed schedule — local beekeeping associations publish region-specific calendars that are worth cross-referencing your first year.
9. Texas-Specific Challenges
Three issues come up disproportionately often for Texas beekeepers compared to beekeepers elsewhere: summer dearth, Africanized bee genetics, and robbing.
Dearth is the period — usually mid-summer in most of the state — when blooming plants dry up and colonies stop bringing in nectar almost entirely. If you don’t already know what dearth is in beekeeping, it’s worth understanding before your first July, because colonies that look strong in June can starve by September without supplemental feeding.
Dearth also triggers defensive and opportunistic behavior. Weak or queenless colonies become targets, and stronger colonies (or even wasps) will attempt to steal their stores — a behavior explained in our guide to what robbing is in beekeeping, along with how reduced entrances and robbing screens prevent it. Separately, healthy colonies sometimes prepare to swarm during the strong spring buildup — understanding the early signs lets you split a colony intentionally rather than losing half your bees to a tree branch two properties over.
Finally, much of southern and central Texas has established Africanized honey bee genetics in the feral population. This doesn’t mean every colony is aggressive, but it does mean requeening with known, gentle genetics periodically is a more active part of Texas management than it is further north.
10. Feeding and Watering Your Colony
New colonies and any colony heading into dearth need supplemental feeding to avoid starvation, even in a state with a long growing season. A basic 1:1 sugar syrup (by weight or volume) supports comb building in spring, while a heavier 2:1 syrup in fall helps build winter stores. Knowing what to feed a bee beyond plain sugar syrup — including when pollen substitute actually helps versus when it’s unnecessary — prevents a lot of first-year guesswork.
Feeder style matters more than most beginners expect. Entrance feeders are easy to monitor but can trigger robbing in a dearth; top feeders hold more volume and are safer for that reason. If you’d rather not buy one, our tutorial on how to make a bee feeder covers a few reliable DIY builds from materials most people already have. When you are ready to buy, our current best bee feeder picks compare capacity, robbing-resistance, and ease of refilling.
11. Harvesting Your First Honey
Most first-year Texas colonies shouldn’t be harvested at all — the priority is letting the colony build enough comb and stores to survive its first summer dearth and winter. If your colony is unusually strong from an early spring flow, a light harvest from fully capped frames only (at least 80% capped) is reasonable, but always leave the colony more than it needs, not just enough.
Whichever hive style you chose earlier determines your harvest method: Flow Hives drain directly from a tap, while Langstroth frames require either a manual crush-and-strain approach or an extractor. Either way, only pull capped frames, replace them promptly, and give the colony time to rebuild comb before the next dearth arrives.
12. Common Beginner Mistakes
Mistakes to Avoid
- Skipping fall feeding because the season “felt fine”
- Buying a full-size Langstroth setup for a top-bar colony’s split needs
- Opening the hive too often out of curiosity, stressing the colony
- Ignoring mite counts because bees “look” healthy
- Placing hives in full afternoon sun with no shade plan
What Helps Instead
- Joining a local beekeeping association for hands-on mentorship
- Keeping simple written inspection notes every visit
- Budgeting for feeding as a normal recurring cost, not an emergency one
Cost is often underestimated going in — between the hive itself, gear, bees, and a season of feeding, first-year costs add up faster than the price of a single starter kit suggests. Our detailed breakdown of how much it costs to start beekeeping is worth reading before you buy your first box, so there are no surprises three months in. And once your first colony is established, our ongoing guide on how to improve your beekeeping skills covers the next-level habits — reading brood patterns, timing splits, and requeening decisions — that separate a surviving first-year colony from a thriving multi-year apiary.
Frequently Asked Questions
Do I need a permit to keep bees in Texas?
No state license is required for hobbyist beekeeping, though registering your apiary with the Texas Apiary Inspection Service is strongly recommended, and some cities or HOAs impose their own local restrictions.
How many hives should a beginner start with?
Two is generally better than one. If something goes wrong with one colony — a failed queen, for example — you have resources from the second colony (like a frame of eggs) to help fix it.
What’s the best time of year to start a hive in Texas?
Late winter to early spring, timed so the colony is established before the main spring nectar flow and has months to build strength before summer dearth arrives.
How much does it cost to start beekeeping in Texas?
Budgets vary widely, but a realistic first-year total including hive, gear, bees, and feed typically lands in the low-to-mid hundreds of dollars at minimum, before factoring in optional equipment.
Is a nuc or a package better for a first-time Texas beekeeper?
A nuc is generally the safer starting point since it comes with drawn comb, brood, and an established laying queen, giving the colony a head start before dearth.
Are Texas bees more aggressive than bees elsewhere?
Feral Africanized genetics are established in much of southern and central Texas, which can make some feral-derived colonies more defensive; sourcing bees from a reputable breeder with known gentle genetics reduces this risk.
How do I keep bees alive during a Texas summer dearth?
Supplemental sugar syrup feeding, a reliable nearby water source, and a reduced entrance to prevent robbing are the three biggest factors in getting a colony through dearth.
Do I need to paint my hive?
It’s optional but genuinely useful in Texas heat — lighter paint colors reflect sunlight and measurably reduce the internal hive temperature compared to bare or dark-stained wood.
How often should I inspect my hive?
Roughly every 7–10 days during active season is typical; more frequent inspections stress the colony without adding useful information.
Can I keep bees in a Texas city or suburb?
Often yes, but check your specific municipal code and HOA rules first — some cities restrict hive placement distance or colony count within residential lots.
What’s the biggest mistake new Texas beekeepers make?
Underestimating summer dearth and not feeding proactively, which can turn a strong spring colony into a struggling one by early fall.
Should I harvest honey my first year?
Only lightly, and only from a colony that is clearly ahead on stores — most first-year colonies do better when left to build reserves rather than harvested.
Final Thoughts
Starting a hive in Texas is genuinely approachable — the legal barrier is close to zero, the flying season is long, and the local beekeeping community is active and willing to help. The pieces that trip up beginners aren’t exotic; they’re heat management, dearth-season feeding, and giving a new colony enough time to establish before pulling any honey. Get those three things right, register your apiary, and choose gear that matches Texas conditions rather than generic advice written for a milder climate, and your first season has a real shot at going well.