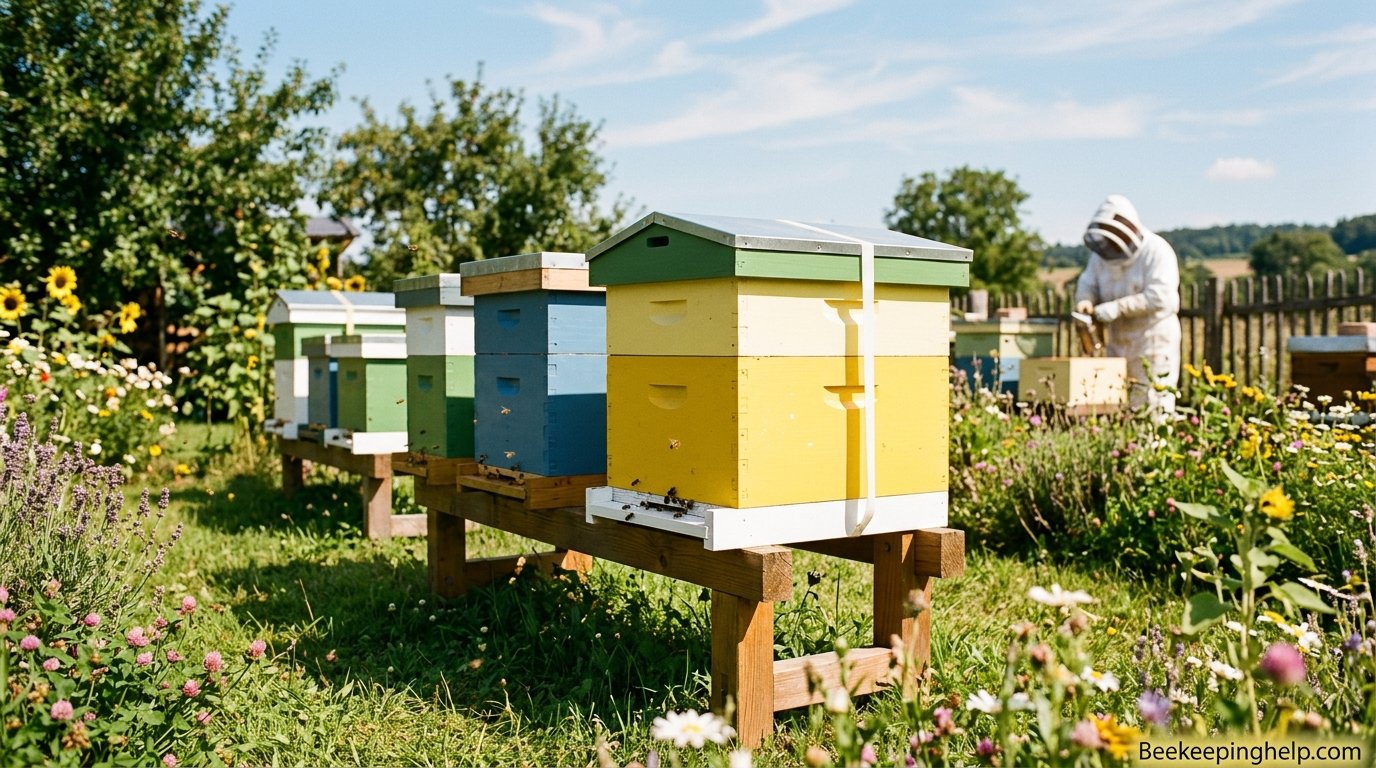
How to Paint a Beehive: A Complete Step-by-Step Guide for Healthier, Longer-Lasting Hives
Everything you need to know about choosing paint, prepping wood, protecting bees, and finishing your hive like a pro — even if you’ve never picked up a brush before.
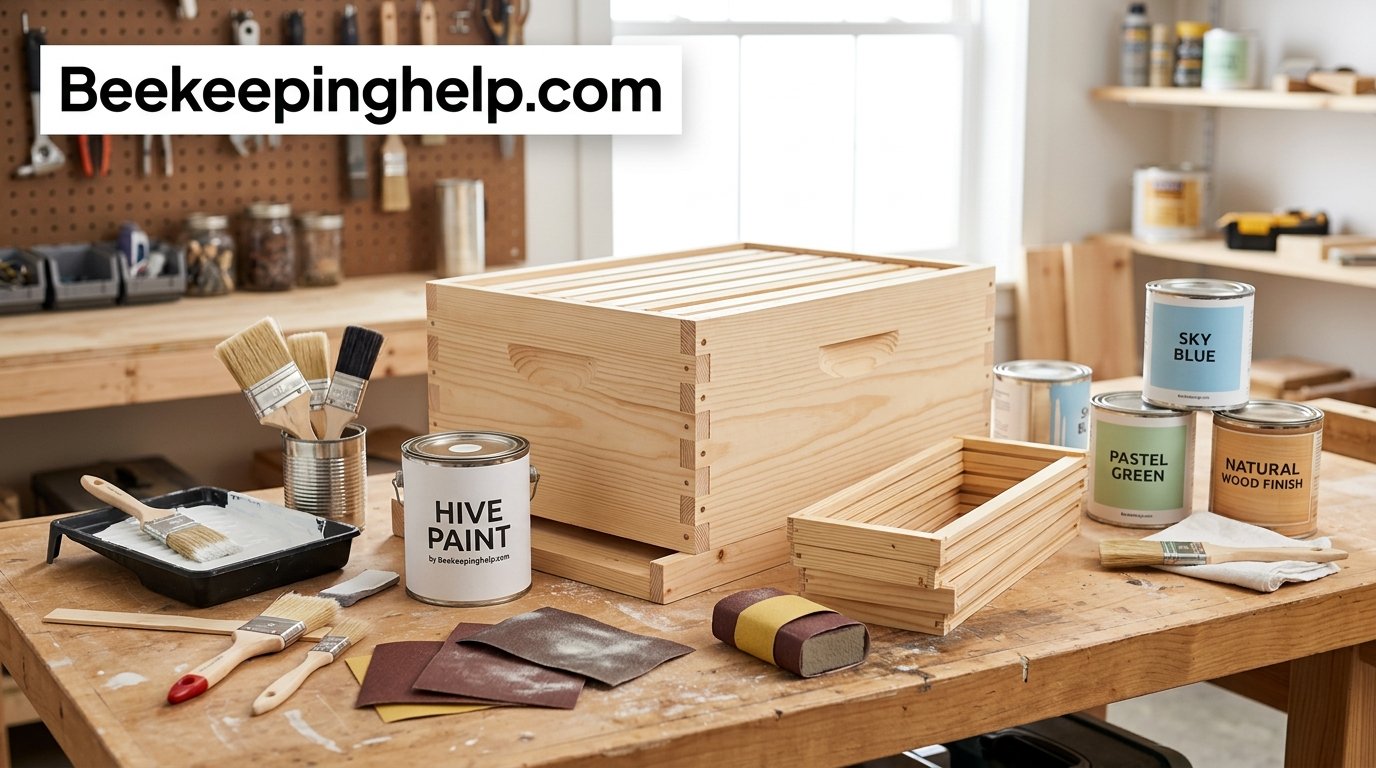
Why Paint a Beehive?
A beehive spends its entire working life outdoors, exposed to sun, rain, frost, and wind. Unlike a garden shed, it can’t be tucked under an overhang or replaced every couple of seasons without disturbing an entire colony. Painting a beehive isn’t about making it look pretty for the neighbors — although a smart-looking apiary certainly doesn’t hurt — it’s primarily about protecting the wood that protects your bees.
Untreated pine, the most common hive material, absorbs moisture quickly. Once water gets into the grain, the wood begins to warp, crack, and eventually rot. A rotting hive body doesn’t just look bad; it lets in drafts, weakens the structure, and creates gaps where pests like wax moths, ants, and small hive beetles can sneak in. A good exterior paint job seals the wood, slows down weathering, and can add years — sometimes a decade or more — to the working life of your equipment.
Paint also plays a role in temperature regulation. Bees work incredibly hard to keep their brood nest at a stable temperature, and a hive that’s baking in direct sun or soaked with cold rain makes that job harder. The right color and a well-sealed exterior can meaningfully reduce the thermal stress a colony experiences over a season, which is especially helpful for beekeepers in very hot or very cold climates. If you’re just getting your bearings on hive setup and management basics, our guide on how to start beekeeping is a great companion resource before you pick up a paintbrush.
Finally, painting simply extends your investment. Whether you bought pre-cut kits or learned how to make a beehive from raw lumber yourself, hive equipment isn’t cheap. A few dollars in paint and a weekend afternoon is a tiny cost compared to replacing warped supers every few years.

Ready to gather supplies? Start with a trusted, weatherproof exterior latex paint.
Shop Exterior Paint on AmazonMaterials & Tools Checklist
Before you start, lay everything out so you’re not hunting for a screwdriver with wet gloves on. Here’s what a typical hive-painting project calls for:
- 100% acrylic exterior latex paint (or a wood-specific exterior formula)
- Exterior wood primer, especially for raw or previously bare wood
- 80-grit and 150-grit sandpaper, or a sanding block/orbital sander
- A stiff-bristle brush or shop vac for dust and debris removal
- Painter’s tape to mask handles, frame rests, and entrance reducers
- 2–3 inch synthetic bristle paintbrushes (better for latex paint than natural bristle)
- A small foam roller for large flat panels, if desired
- Drop cloth or cardboard to protect your work surface
- Nitrile or latex gloves and safety glasses
- A screwdriver or hive tool for disassembly
- Wood filler for any cracks, knots, or old nail holes
If you’re unsure which hive style you’re working with, or you’re comparing designs before your first purchase, it helps to review the different beehive types with pictures so you know exactly which parts need painting and which don’t.
Choosing the Right Paint
Not all paint is created equal when bees are involved. The wrong choice can off-gas fumes for weeks, flake into the hive, or simply fail to hold up outdoors. Here’s what actually matters when selecting paint for hive equipment.
Water-Based Exterior Latex Is the Standard
Most experienced beekeepers recommend 100% acrylic latex exterior paint. It’s durable, flexible enough to move with the wood as it expands and contracts, low-odor once cured, and widely available at any hardware store. Because it’s water-based, cleanup is simple and there’s no harsh solvent smell lingering around the apiary.
Avoid Oil-Based and Solvent-Heavy Paints
Oil-based paints take much longer to off-gas and can retain a chemical smell for weeks, which may irritate bees’ sensitive antennae and confuse foraging and orientation behavior near the entrance. Stick to water-based formulas whenever bees will be nearby during or shortly after painting.
Skip Anything With Pesticide Additives
Some specialty paints include mildewcides or insect-repelling additives. These are designed for structures that need to keep bugs out — which is exactly the opposite of what you want on a beehive. Always read the label and avoid anything marketed as “insect resistant” or “pest control” paint.
Primer Matters Too
A quality exterior wood primer seals raw pine, blocks tannin bleed-through (especially on cedar), and gives your topcoat something to grip. Skipping primer on bare wood is one of the most common reasons hive paint peels within a year or two.
Best Colors for Beehives
Color isn’t just cosmetic — it affects how much heat the hive absorbs and how easily returning foragers find their own colony among a row of similar-looking boxes.
| Color | Best For | Notes |
|---|---|---|
| White | Hot climates | Reflects sunlight, keeps interior cooler in summer |
| Light Gray / Tan | Mixed/moderate climates | Balances heat absorption and visibility of dirt |
| Pastel Blue, Green, Yellow | Multi-hive apiaries | Helps bees identify their own hive, reducing drift |
| Dark Green / Brown | Cold climates | Absorbs more heat, helpful in shorter or cooler seasons |
| Black or very dark colors | Not recommended in hot regions | Can overheat hives in summer; use with caution |
Beekeepers running several hives side by side often paint each one a distinct color or pattern on the front. Research on honey bee behavior suggests bees use visual landmarks, including color and shape, to navigate back to their own colony — so a row of identical white boxes can actually increase “drifting,” where bees mistakenly enter a neighboring hive.
When to Paint a Beehive
Timing affects both how well the paint cures and how safe the process is for your bees.
- Best season: Late spring through early fall, when daytime temperatures are consistently above 50°F (10°C) — most latex paints need mild, dry weather to cure properly.
- Best time in a hive’s life: Paint new equipment before it ever touches bees. This is the easiest, safest scenario since there’s no colony to protect.
- For hives already in use: Paint during a mild, dry day when you can safely remove bees temporarily (e.g., during a planned inspection or box swap), or paint only the exterior surfaces that don’t require full disassembly.
- Avoid: Painting in direct, blazing heat (paint dries too fast and won’t bond well) or in humid, rainy conditions (moisture gets trapped under the coat).

A good synthetic brush set makes all the difference on rough-sawn hive lumber.
Shop Paint Brushes on AmazonStep-by-Step: How to Paint a Beehive
Below is the full process from bare box to finished, bee-ready hive. Each step below includes a simple visual so you can see exactly what’s happening before you pick up a tool.
1Disassemble & Inspect
Remove the hive body from any stand or base, take off lids, and if the box is empty of bees, separate boxes by size (deeps, mediums, supers) so you can paint them in batches. Inspect each piece for rot, cracked joints, or loose nails, and set aside anything that needs repair before painting.
2Sand the Surface
Use 80-grit sandpaper to knock down rough spots, splinters, and any old flaking paint, then follow with 150-grit for a smoother finish. Sanding also opens up the wood grain slightly so primer and paint can bond more securely. Always sand with the direction of the grain, not against it.
3Clean & Dry the Wood
Wipe away all sanding dust with a dry brush or a shop vac, then go over the surface with a slightly damp cloth to catch any remaining particles. Let the wood dry completely — any trapped moisture under a coat of primer will eventually cause bubbling or peeling.
4Apply Primer
Using a synthetic brush, apply a thin, even coat of exterior wood primer to all outer surfaces. Focus extra attention on end-grain edges (the exposed ends of boards), since these soak up moisture fastest. Let the primer dry fully per the label’s instructions, usually 1–2 hours minimum.
5Apply the First Coat of Paint
Once primer is dry, apply your first coat of exterior latex paint in thin, even strokes. Work top to bottom, and don’t overload the brush — thin coats dry faster and produce a smoother, more durable finish than one thick, drippy layer. Pay attention to corners and joints where two boards meet.

Don’t skip primer — it’s the single biggest factor in how long your paint job lasts.
Shop Wood Primer on Amazon6Apply the Second Coat & Detail Work
After the first coat is fully dry (check the label, but usually 2–4 hours), apply a second coat for full coverage and UV protection. This is also the point to add any decorative touches — stenciled numbers, colored fronts for hive identification, or a beekeeper’s personal logo.
7Cure & Reassemble
Let the finished boxes cure in a dry, ventilated space for at least 5–7 days before bees are introduced or the hive is placed back in the apiary. Once cured, reassemble the boxes, reattach the lid and bottom board, and set the hive back on its stand.
Should You Paint the Inside of a Beehive?
In almost all cases, no. The interior of a hive should be left unpainted. Bees naturally coat interior wood surfaces with propolis, a resin-based substance they collect and use to seal cracks, smooth surfaces, and add antimicrobial properties to their home. Paint on the inside interferes with this process, can trap moisture against the wood from the inside, and adds an unnecessary chemical layer close to where bees live and raise brood.
The only interior surfaces sometimes treated are the underside of outer covers or migratory lids, and even then, many beekeepers prefer raw wood or a light coat of raw linseed oil rather than paint. If you want to understand exactly which interior components exist and how they function, our breakdown of the parts of a beehive and their functions is a useful reference.
Paint Type Comparison Table
| Paint Type | Durability | Bee Safety | Cost | Best Use |
|---|---|---|---|---|
| 100% Acrylic Latex | High (5–8 yrs) | Excellent once cured | $$ | Standard exterior hive surfaces |
| Oil-Based Enamel | Very High | Fair — long off-gas time | $$$ | Not recommended near active colonies |
| Milk Paint | Low–Medium | Excellent | $$ | Natural/rustic finishes, needs sealant topcoat |
| Linseed Oil (no paint) | Medium | Excellent | $ | Natural-look hives, needs reapplication yearly |
| Elastomeric Exterior Paint | Very High | Good once cured | $$$ | Harsh climates, heavy rain/snow regions |
Pros & Cons of Painting a Beehive
Pros
- Protects wood from rot and warping
- Adds years to equipment lifespan
- Helps regulate internal hive temperature
- Improves hive identification for beekeepers with multiple colonies
- Boosts curb appeal for backyard or urban apiaries
Cons
- Adds time and cost to hive setup
- Improper products can off-gas near bees
- Requires periodic maintenance/repainting
- Can chip or peel if applied incorrectly
Common Mistakes to Avoid
- Skipping primer: Leads to premature peeling, especially on bare pine.
- Painting the interior: Interferes with propolis and can trap moisture.
- Using oil-based or pesticide-treated paint: Risks bee health and prolonged fume exposure.
- Not letting paint cure fully: Introducing bees too soon can expose them to strong fumes.
- Painting over rot without repair: Paint hides but doesn’t fix structural wood damage.
- Using very dark colors in hot climates: Can overheat the hive interior during summer.
Repainting & Long-Term Maintenance
Even a great paint job won’t last forever. Inspect your hive exteriors once or twice a year, ideally during spring and fall equipment checks, for signs of peeling, cracking, or exposed wood. A light sanding and a fresh coat every 4–6 years is typical for most climates, though hives in very wet or very sunny regions may need touch-ups sooner.
If you’re comparing long-term equipment investments, it’s worth reading about the differences in Flow Hive vs Langstroth systems, since some hive styles have different maintenance and painting needs based on their materials and design.
Bee Safety Considerations While Painting
If you’re painting equipment that already has bees living in it — for example, touching up an established hive rather than painting new boxes — a few extra precautions apply:
- Paint on a mild, calm day when foraging activity is lower (early morning or late afternoon).
- Avoid painting near the entrance while bees are actively flying in and out.
- Keep wet paint away from the landing board and entrance reducer entirely.
- Work quickly and calmly — excess vibration or banging can agitate a colony.
- Wear your normal protective gear, since opening or shifting boxes can trigger defensive behavior even during simple maintenance.
For beekeepers who want a refresher on hive mechanics before doing any hands-on maintenance work, it helps to review how a beehive works so you understand exactly which components you’re handling.
Starting from scratch? A complete hive kit gives you clean, paint-ready lumber from day one.
Shop Beehive Kits on AmazonA Note on Natural & Tree Hives
Not every hive is a manmade box, of course. If you’re curious how colonies survive without any paint or protection at all, it’s worth reading about the different types of beehives in trees — a good reminder that paint is a human convenience for wooden equipment, not something bees biologically require to thrive.
Choosing Equipment That’s Easier to Maintain
If you’re still deciding on your setup, some hive styles hold paint better than others simply due to their construction and wood type. Browsing a roundup of the best beekeeping hives before you buy can save you a repaint down the line, especially if you choose kiln-dried lumber or cedar, which resists moisture naturally even before a coat of paint is applied.
Frequently Asked Questions
Is it safe to paint a beehive with bees still living inside?
Yes, as long as you only paint the exterior surfaces, use a low-odor water-based paint, and avoid painting near the entrance while bees are actively flying. Most beekeepers prefer to paint new equipment before bees ever move in, but light touch-ups on established hives are generally safe when done carefully.
What paint colors keep hives coolest in summer?
Lighter colors like white, light gray, and pale pastels reflect more sunlight and help keep the interior cooler, which is especially helpful in hot climates during peak summer months.
Do I need to prime before painting a beehive?
Yes, especially on bare or new wood. Primer seals the wood, blocks tannin bleed-through, and helps the topcoat adhere far longer than paint applied directly to unprimed lumber.
How long should paint cure before bees are introduced?
A minimum of 5–7 days in a dry, ventilated area is recommended so that fumes fully dissipate and the paint hardens completely.
Can I paint the inside of a beehive?
Generally, no. Bees coat interior surfaces with propolis naturally, and painted interiors can interfere with that process and trap moisture against the wood.
What’s the best type of paint for beehives?
100% acrylic exterior latex paint is the most widely recommended option due to its durability, low odor, and flexibility across temperature changes.
How often should I repaint my beehives?
Most hives need repainting every 4–6 years, though this varies based on climate, sun exposure, and how well the original coat was applied.
Should each hive be a different color?
Many beekeepers with multiple hives use different colors or front-facing patterns to help bees identify their own hive and reduce drifting between colonies.
Can I use spray paint instead of brushing it on?
Spray paint can work for thin, even coats, but brushing generally gives better coverage on rough-sawn hive lumber and gets into joints and corners more effectively.
Does painting a beehive affect the bees’ behavior?
Fresh, uncured paint fumes can be irritating, which is why curing time matters. Once fully cured, painted equipment has no meaningful effect on colony behavior.
What if my hive already has old, peeling paint?
Sand back to bare wood in the peeling areas, apply primer, and repaint. Never paint directly over cracked or flaking layers, as the new coat will fail the same way.
Is cedar wood necessary, or can I paint pine hives too?
Pine is perfectly fine and is actually the most common hive material. Painting is especially important for pine since it’s more porous and prone to moisture damage than cedar.
Conclusion
Painting a beehive is one of the simplest, most cost-effective ways to protect your equipment and support a healthier environment for your bees. With the right paint, a bit of prep work, and patience for proper curing, a single weekend project can add years to your hive’s lifespan. Start with clean, sanded wood, prime thoroughly, apply thin even coats of a water-based exterior latex paint, and give everything time to cure before your colony moves back in.
Shop Beehive Painting Supplies on Amazon